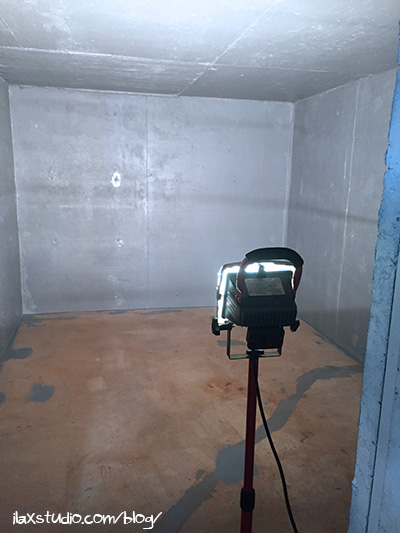
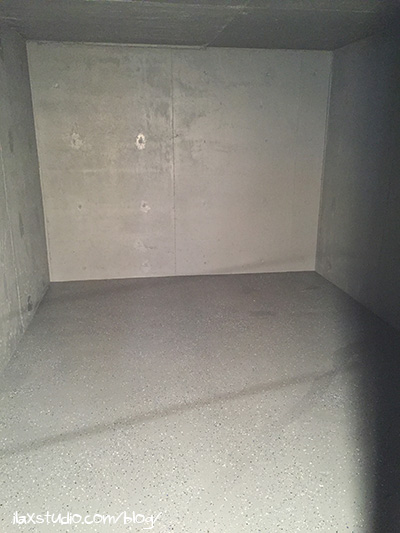
Allow me to introduce you to the creepiest room in the house:
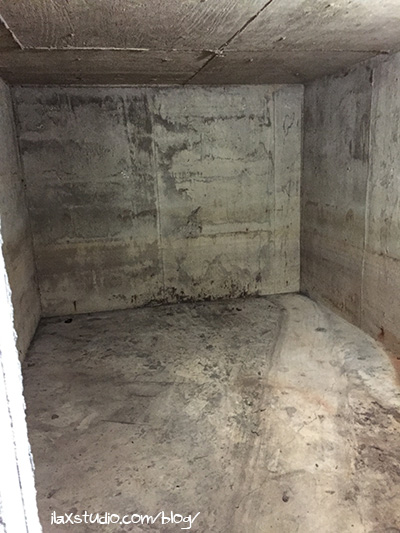
We affectionately call it “the kill room.”
But it’s so fun to sing in there! Ha!
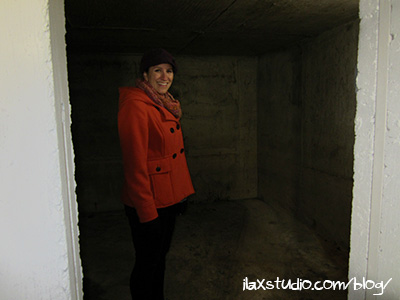
And that is NOT what it looks like now!
Who knows what this room was. A bomb shelter? A cellar? It’s right under our foyer and has hella thick walls and isn’t useful for much other than storage (and playing around with the echo). So we decided to make it a storage room. First though, a few changes.
Dad and Steven power washed it on February 7th, which helped a ton:
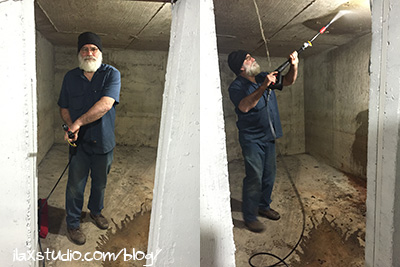
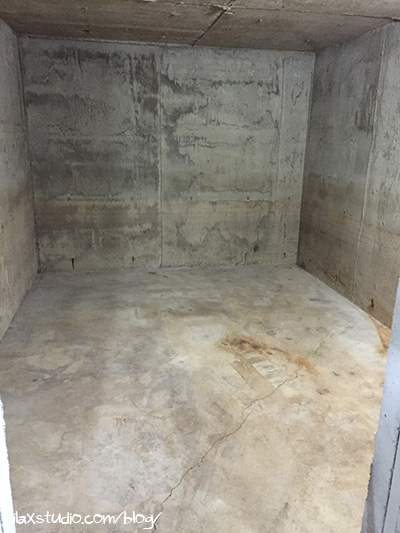
Already looking better!
Steven ordered* Rust-Oleum EpoxyShield Basement Floor Coating to cover the floors, walls and ceiling. That required a bit of prep work, before we could paint (here’s their how to video).
First, Steven got all the random pieces of concrete off the surfaces of the room, using a hammer and chisel. There were pieces stuck on the floors, walls and ceiling.
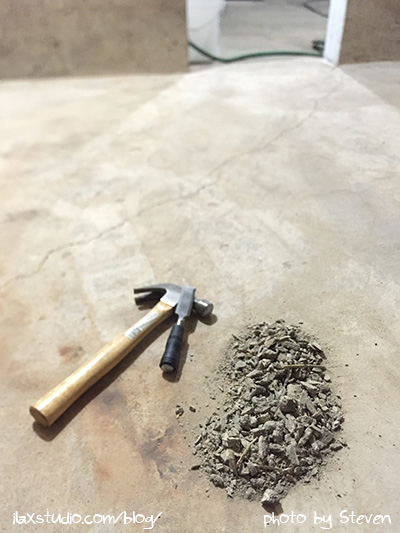
On February 24th, we used Rust-Oleum EPOXYShield Concrete Patch to patch some of the cracks and fill in ridges/divots on the walls.
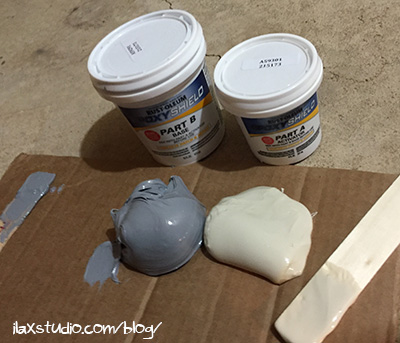
Hence the spots in the photos below!
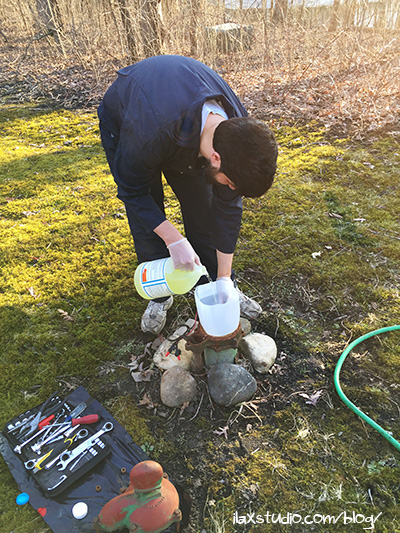
Then the real fun began… We spent about four hours on February 27th rinsing the walls – getting more chunks (and stains) off with steel brushes,
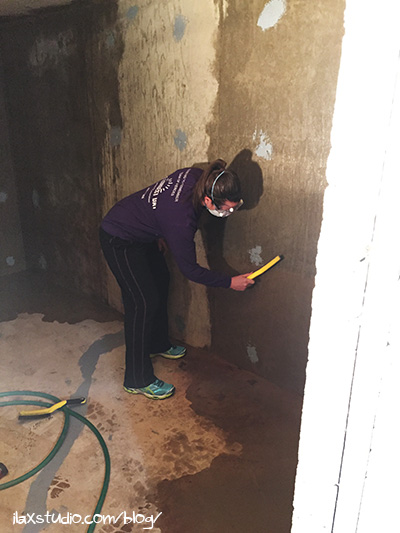
then using a concrete etch to clean all the surfaces to prepare them to receive the paint.
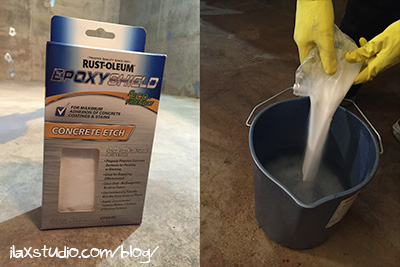
The picture on the right is so much darker because we had to take the installed light out of the room to do this part of the project, and use a floor lamp!
Each surface received the etch,
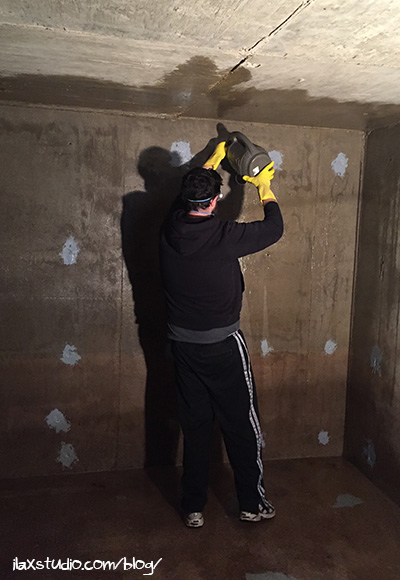
it sat on the surface for 1-2 minutes, then we scrubbed it with a brush,
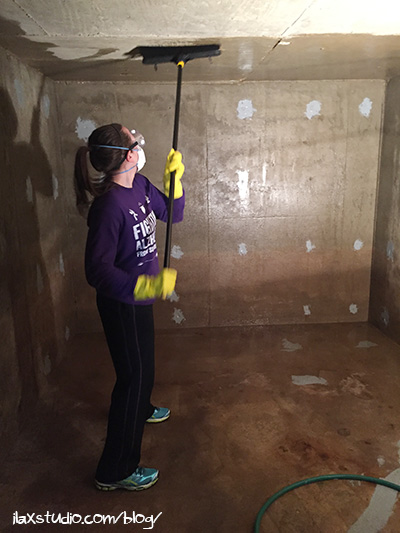
then rinsed and squeegeed each surface THREE TIMES each. Hence it taking four hours.
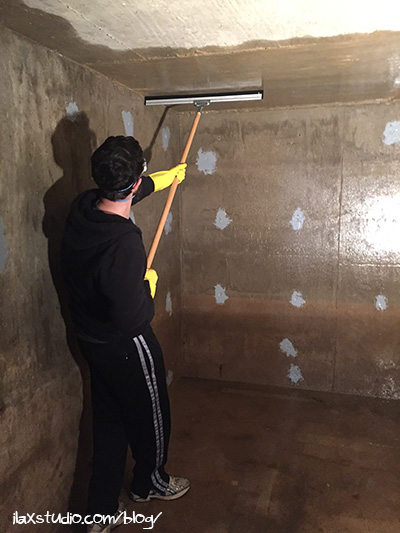
But! By the end, the water we squeegeed out was coming off clear (it was important the room be very clean so the paint would adhere). Yay!
Then we waited for it to dry out. We put a dehumidifier in the room and ran it for a few days. On March 4th, we taped a piece of plastic on the floor to test and see if any condensation showed up…
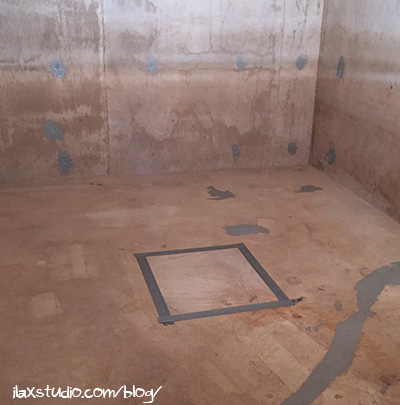
… nope! All good! Ready to paint!
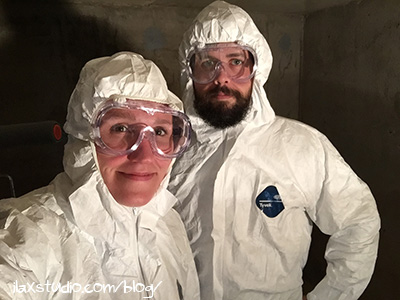
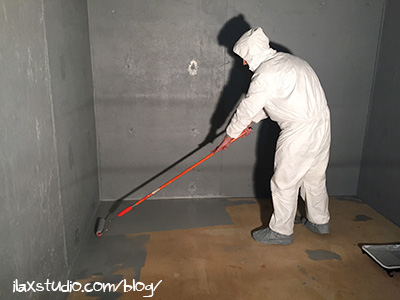
I vacuumed the room March 12th (unfortunately, we didn’t have a big time chunk in our schedule to start painting until then!) and we got to painting! You simply pour part A in to part B, stir it for three minutes, then let it sit for thirty minutes before painting.
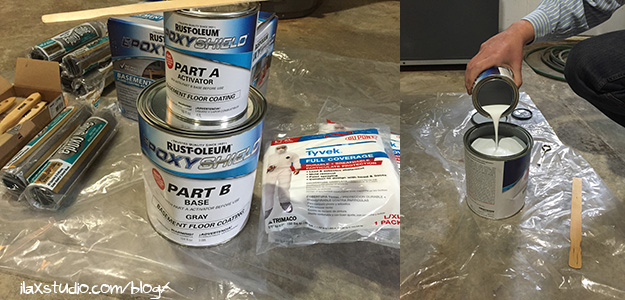
We started with the ceiling (ouch – my shoulders!) so any drips on the floor or walls would be painted over later. One set of this paint is supposed to be enough for 250 square feet, and our room is 9’x13’x7′, so we got two sets, hoping that would just be enough.
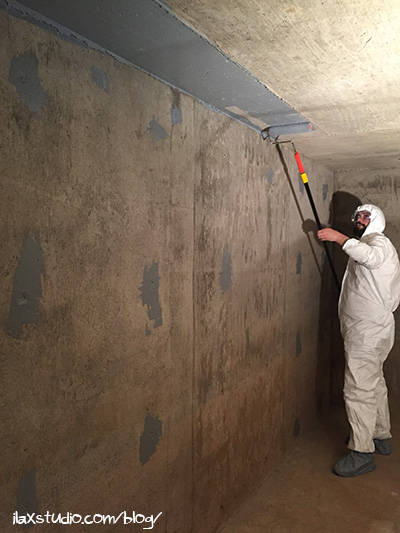
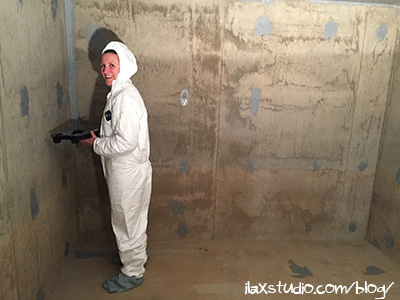
The first can covered all of the ceiling and the front and back walls (and took us about two hours to paint).
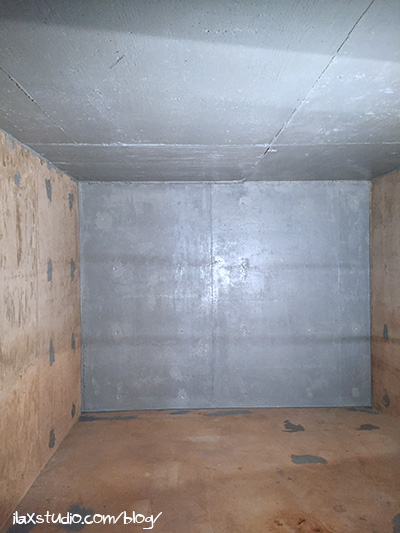
The second can covered most of the rest of the walls (and took a bit less time – just under two hours).
We wondered if a second coat of paint would cover the glossy concrete patches, but we didn’t care enough to find out.
And we ran out of paint. Luckily, Menards (we got the first two sets on Amazon) had it in stock so we got some to finish up painting on March 13th! (Note: there are specific instructions for mixing multiple sets of this paint to make sure the coloring matches, but we mixed one set at at time – they seem to match fine, and it’s a dark storage room – it’s not as important as painting an open space that gets natural daylight/viewed often.)
The floor was really easy to paint compared to the other surfaces, because it was smooth. We spent a lot of time (and extra paint – we used the entire third can) covering up all the bumps and divots on the ceiling and walls (in hindsight, spraying would probably be more effective than using a roller and brush for this type of surface)! Finishing up the walls and floors took us just over an hour.
And the best part about the floor? Doing the “sprinkles”!!!
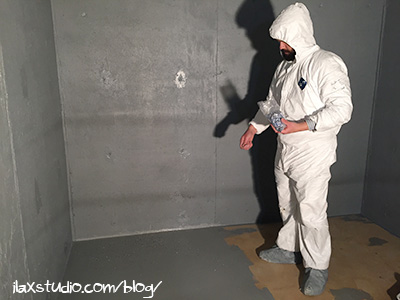
You paint in roughly 4’x4′ areas, then throw the “sprinkles” on!
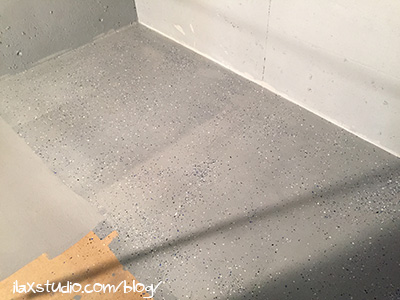
This looks goofy because it’s drying.
All painted!
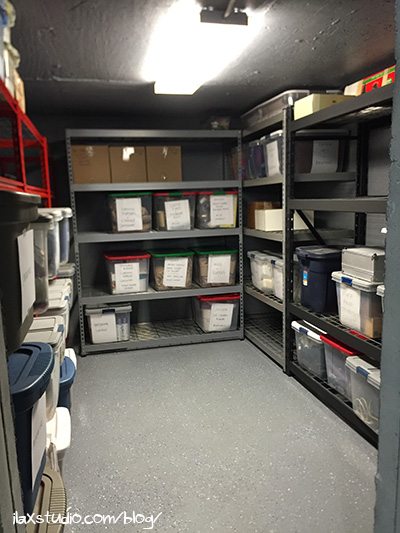
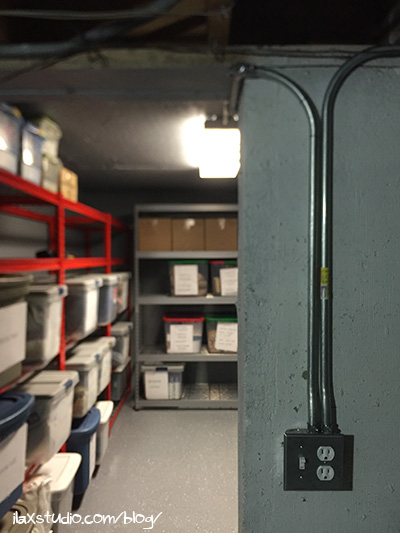
The best part finally arrived yesterday – (after vacuuming up, again) we got to put the shelves in! Basements flood, and we know that ours definitely has, so we want to get things a bit off the floor and in plastic bins. This is one step closer to getting there!
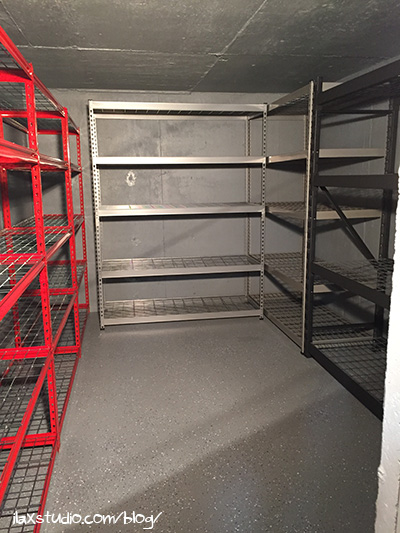
There’s one shelf in the back,
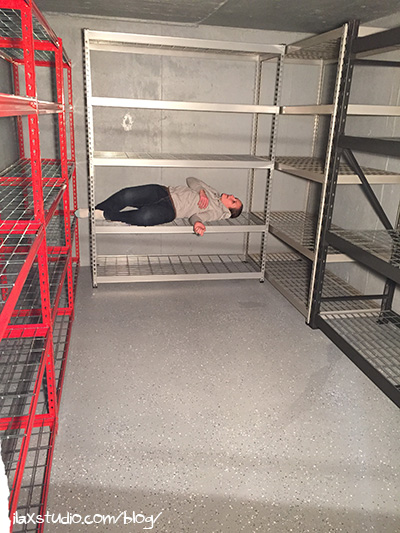
three on the left,
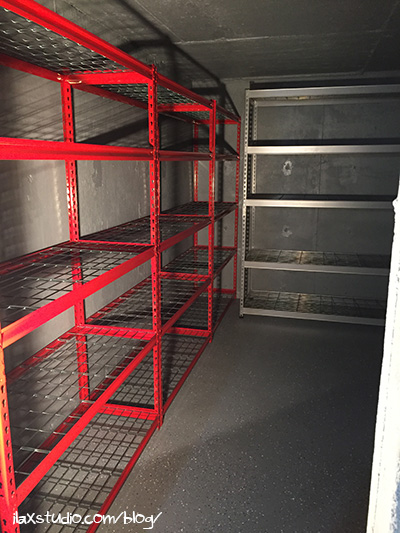
and two on the right.
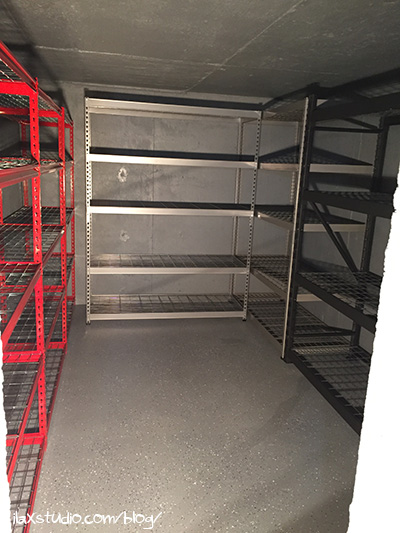
I can’t wait to start putting all our plastic bins in there! I love organizing! That’s been one of my favorite parts of moving – unpacking and organizing (I’d rather unpack, than pack).
Why’d we go to so much work prepping this room for storage? Because we’re gonna live here forever and we want shiz done right. And, we don’t want the storage room to be gross and creepy. Just creepy. It will be less creepy when we install overhead lights. Soon…
*This means we paid for it. This is not a sponsored post. We bought all this shiz ourselves. I am calling out the brands and showing pictures of what we used for future reference, nothing else.
