I’m way behind on blogs and might not have a chance to read until Friday, but I will catch up!
Are you crafty? I sure… am not. My mom and sister are though. But not me. I can’t cut a straight line, tie a ribbon, or write nicely. But! I can make a glass paperweight!
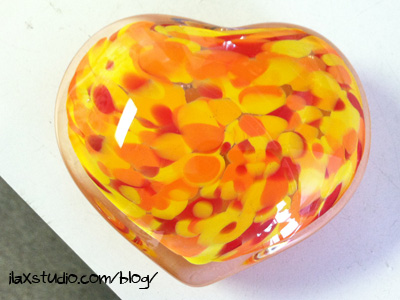
Okay, okay, in FULL disclosure, that is NOT the paperweight I made. Sigh. It’s what mine should look like. We’ll see when I pick it up on Thursday! Fingers crossed!
Early in the year, I saw an Amazon Local Deal for an introductory glass working class (at Patterson Glass). I was curious to learn how glass work is done, and asked Erin if she wanted to try it (since she is that awesome friend who’s up for anything). Of course she said yes, so we signed up and just took the class yesterday!
Confession – I was a little bit scared of burning myself. Guys! It wasn’t until college that I stopped being afraid of using the oven! Ha ha! Would you be scared/nervous at all of taking a glass working class?
All my worries went away when I saw how the shop was set up. There were three stations you went through to make the heart-shaped glass paperweight, and an instructor helped you at each station. Phew! After we watched a demo of the entire process, we went through the stations one by one, so it was never crowded (there were about nine people in our class).
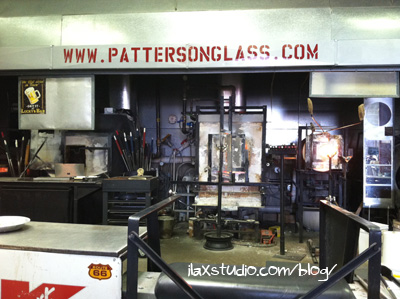
Confession #2 – they told us terms for all the equipment and steps, and showed us all the different ways to color glass, but I am too lazy to look that up for this post.
The first station – glass & color
We (instructor and me) got some glass on the end of a pole and made it in to a cylindrical shape.
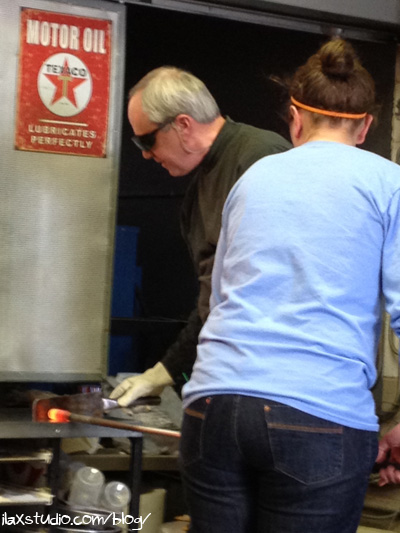
Then we added more glass, and made it in to more of a tapered cone shape, and dipped the top of it in to a plate of colored pieces (we were given 8 color choices and the choice for a dot or swirl design – I went with the dots).
After that, we put it in the glory hole – the one term Erin and I thought you guys would like to know. Heh. As I turned it in the glory hole (heh), the colors went in to the glass. One of the interesting things about making this paperweight was that you were almost always turning it to keep it even – the warm glass will start to droop to one side if you don’t!
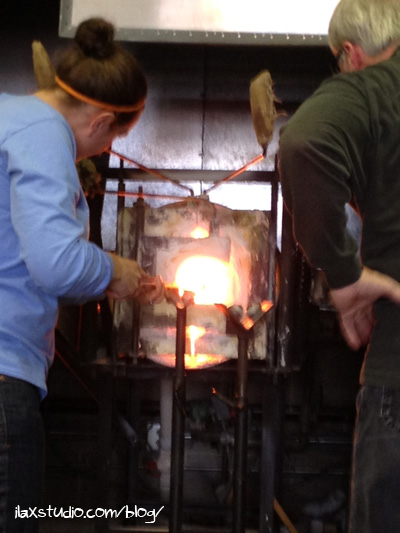
The second station – shaping
After adding the color, we added another layer of glass on top, then put it in a heart mold. Then we sat in a chair with a medieval looking device (below) to begin to separate the heart off the pole.
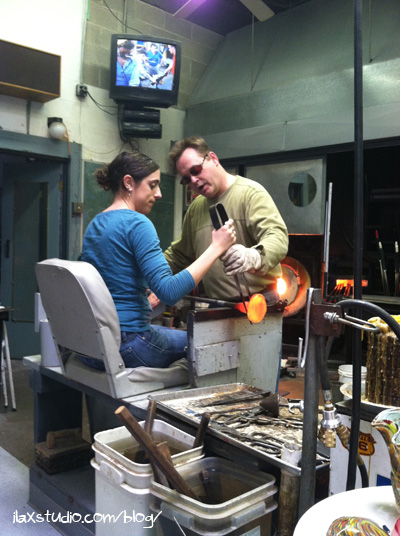
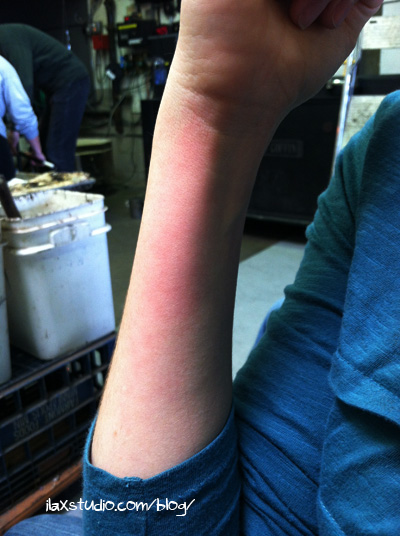
There was an option during this station to burn hair off of your arm, but only Erin chose to do that.
The instructor used an air gun on the heart, then we began to saw at it to loosen it off the pole even more.
The third station – separate, smooth, and in to the kiln
For the final station, we tapped a butter knife against the extra piece of glass keeping the heart on the pole to knock the heart off. Then the instructor used a torch to smooth down the part where it broke off. Then it went in to the kiln! Here is what mine looked like before going in:
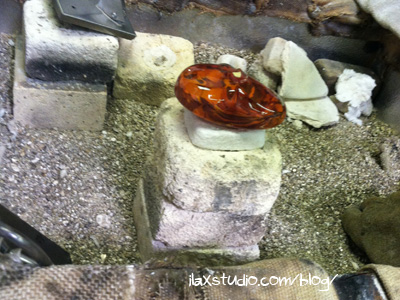
What’s interesting is that the glass doesn’t show its true colors or get clear until it’s removed from the kiln. So they all look orange until they are done. And like I said… I get to see my final product on Thursday! I hope it looks cool!
I was surprised how easy the instructors made glass work seem. I was seriously nervous I was going to end up with a blob paperweight, but I think I will actually have something nice that I can display and be proud of! I hope to go back and take a class* with Steven. I think he would really enjoy it.
*They offer a lot of classes, and sell some cool stuff too – like memorials for people and pets (with ashes or hair in them).

